Transfer From Keg to GrowlerUpdated 5 months ago
Whether you want to bring your beer to a party, store it in smaller portions, or simply enjoy it away from your Smart Keg, transferring to a growler is a great option. Here's how to do it while preserving freshness, carbonation, and flavor.
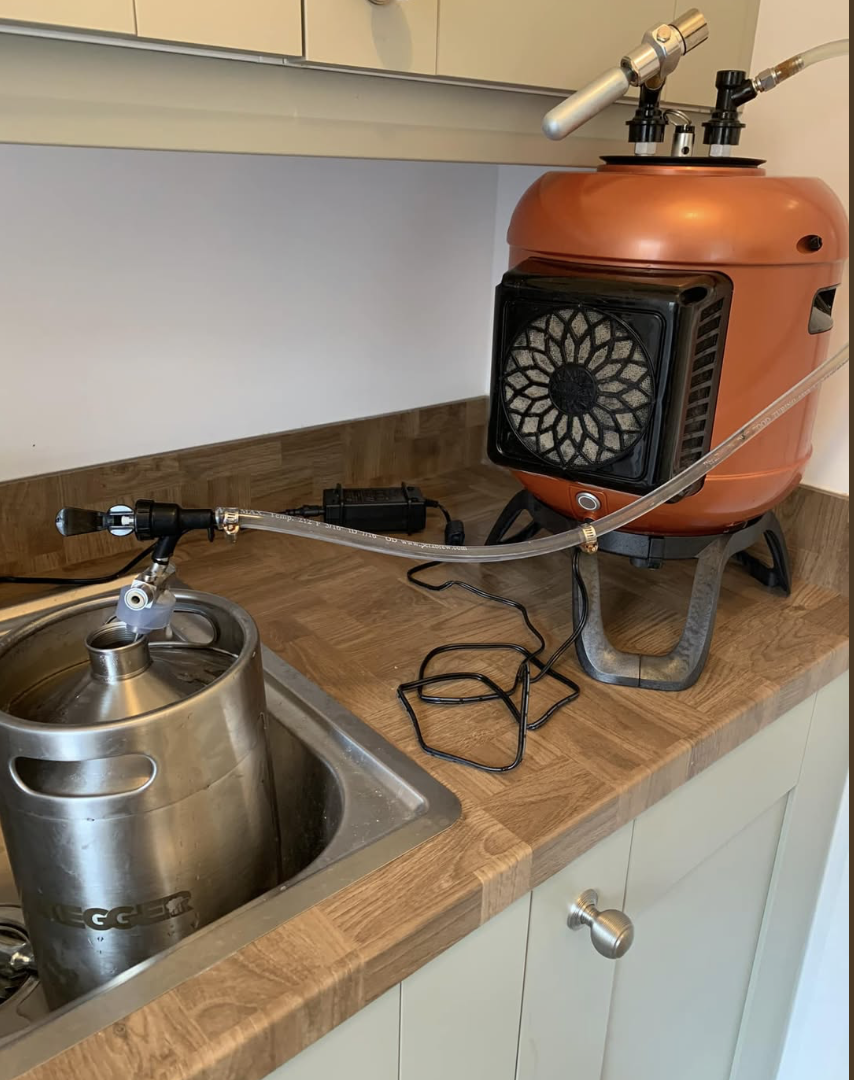
What You’ll Need
✅ A clean, sanitized growler (glass or stainless steel)
✅ Beer line connected to the black ball lock connector
✅ CO₂ source with regulator
✅ Optional: Growler cap with pressure valve or swing-top lid
Step-by-Step: Transfer to Growler
1. Chill the Growler First
Could you place the growler in the fridge or rinse it with cold water? Cold glass helps reduce foaming and retain carbonation.
2. Sanitize Everything
Sanitize the growler, the beer line, and the black ball lock connector to avoid contamination.
3. Connect the Beer Line to the Smart Keg
Attach the black ball lock connector to the beer post on the Smart Keg lid. Ensure it clicks into place. A quick and easy way to fill a growler from a ball lock connector. T
4. Set the CO₂ Pressure
Keep the pressure low—around 5–8 PSI—to reduce foaming during the transfer. Too high and you’ll get a growler full of foam.
5. Purge the Growler (Optional)
Before filling, flush the growler with a small burst of CO₂ to remove oxygen. This improves shelf life.
6. Start the Transfer
Open the tap or valve and allow the beer to flow into the growler. Tilt the growler slightly at the beginning to minimize agitation.
Pro tip: Fill slowly to avoid excess foam. Stop when about 1–2 cm of headspace remains.
7. Cap the Growler Immediately
Seal tightly to retain carbonation. If using a pressure-capable growler, you can keep CO₂ pressure applied for longer storage.